How to Tell a High-End Paint Job From a Fast One
Seven things to check before you release final payment on a paint job — the details that separate lasting work from a finish that looks fine for ninety days.
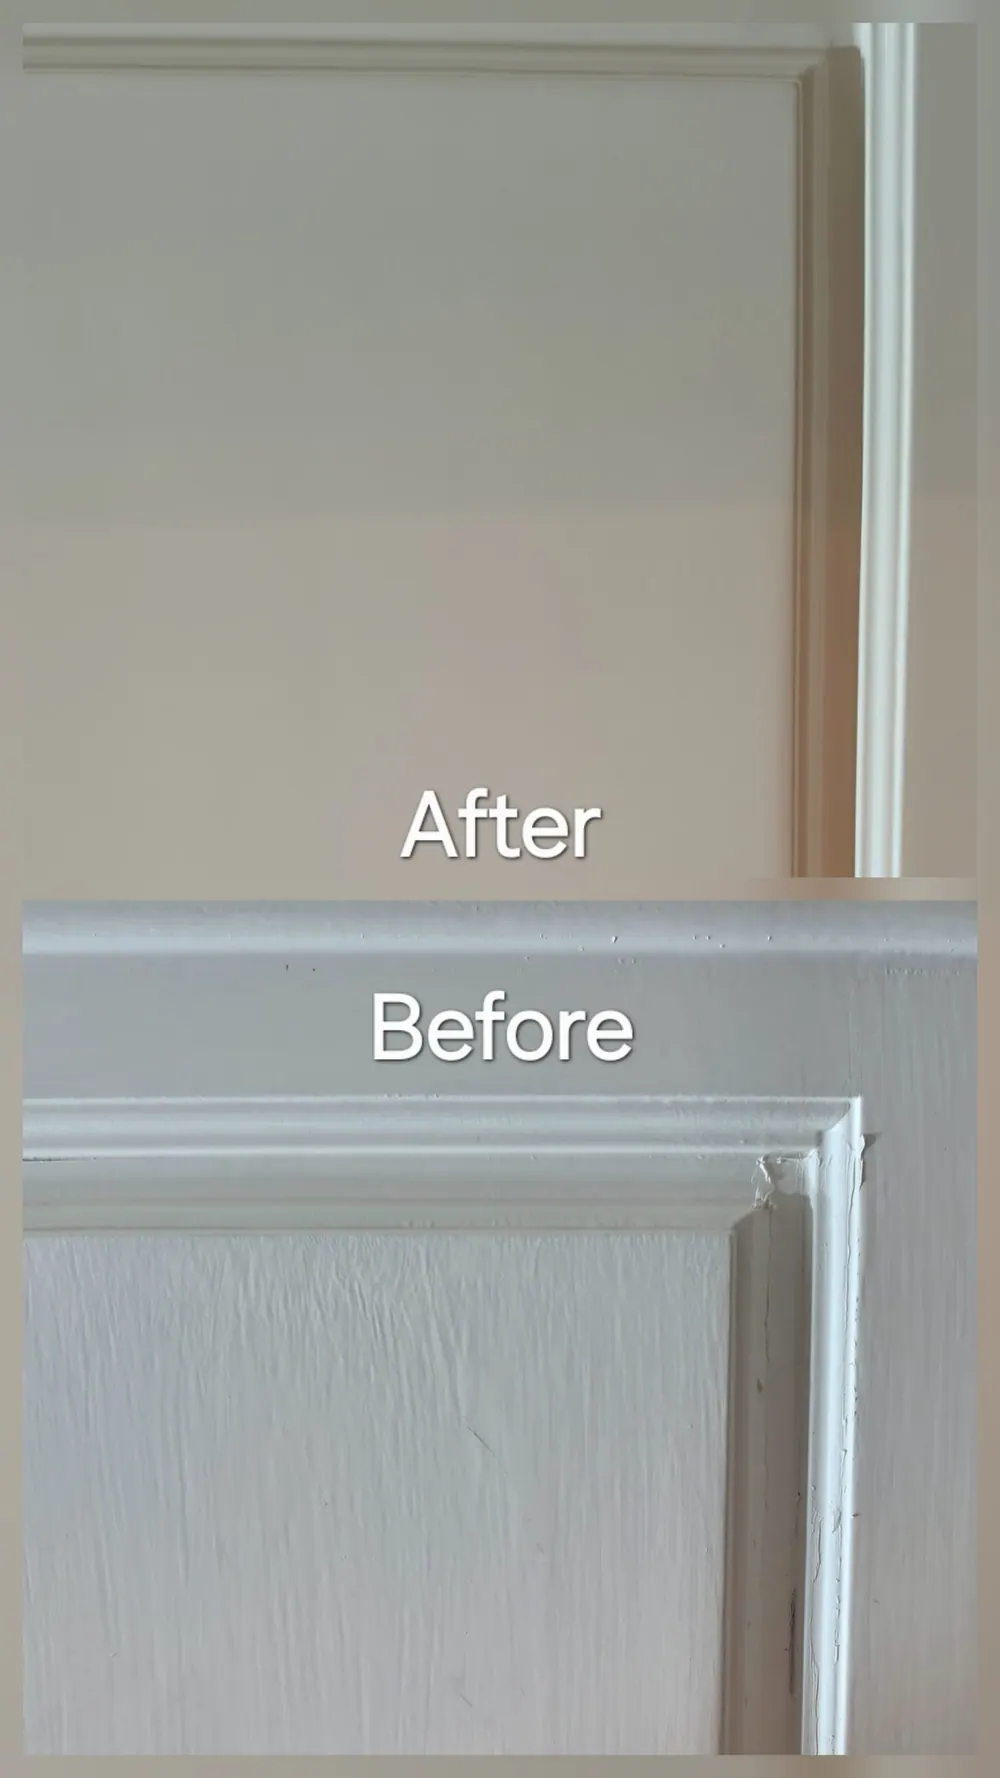
Every paint job looks good on the last day. The crew has cleaned up, the tape is off, the light is flattering because nobody schedules a walkthrough at seven in the morning. That is the moment a homeowner is asked to sign.
The difference between a finish that holds for a decade and one that looks fine for ninety days is almost never visible on that last day. It is visible six months later, and by then the conversation is much harder.
So here is what we would check, in the order we would check it, if we were the ones paying.
1. Look at it in raking light, not flat light
This single move finds more than everything else on this list combined.
Stand so that a window or a lamp throws light across a surface rather than straight at it. Get your eye close to the wall and look along it, the way you would sight down a plank to see if it is straight.
Flat light hides everything. Raking light shows you filler that was sanded proud of the wall, a seam that was not feathered, a ridge where one day’s work met the next, and roller texture that stops halfway up a wall because someone changed sleeves mid-job.
Do this on the wall that faces the water. Gulf-front rooms get low, hard, horizontal light for two hours every evening, which means your guests will be running this exact test for you whether you ask them to or not.
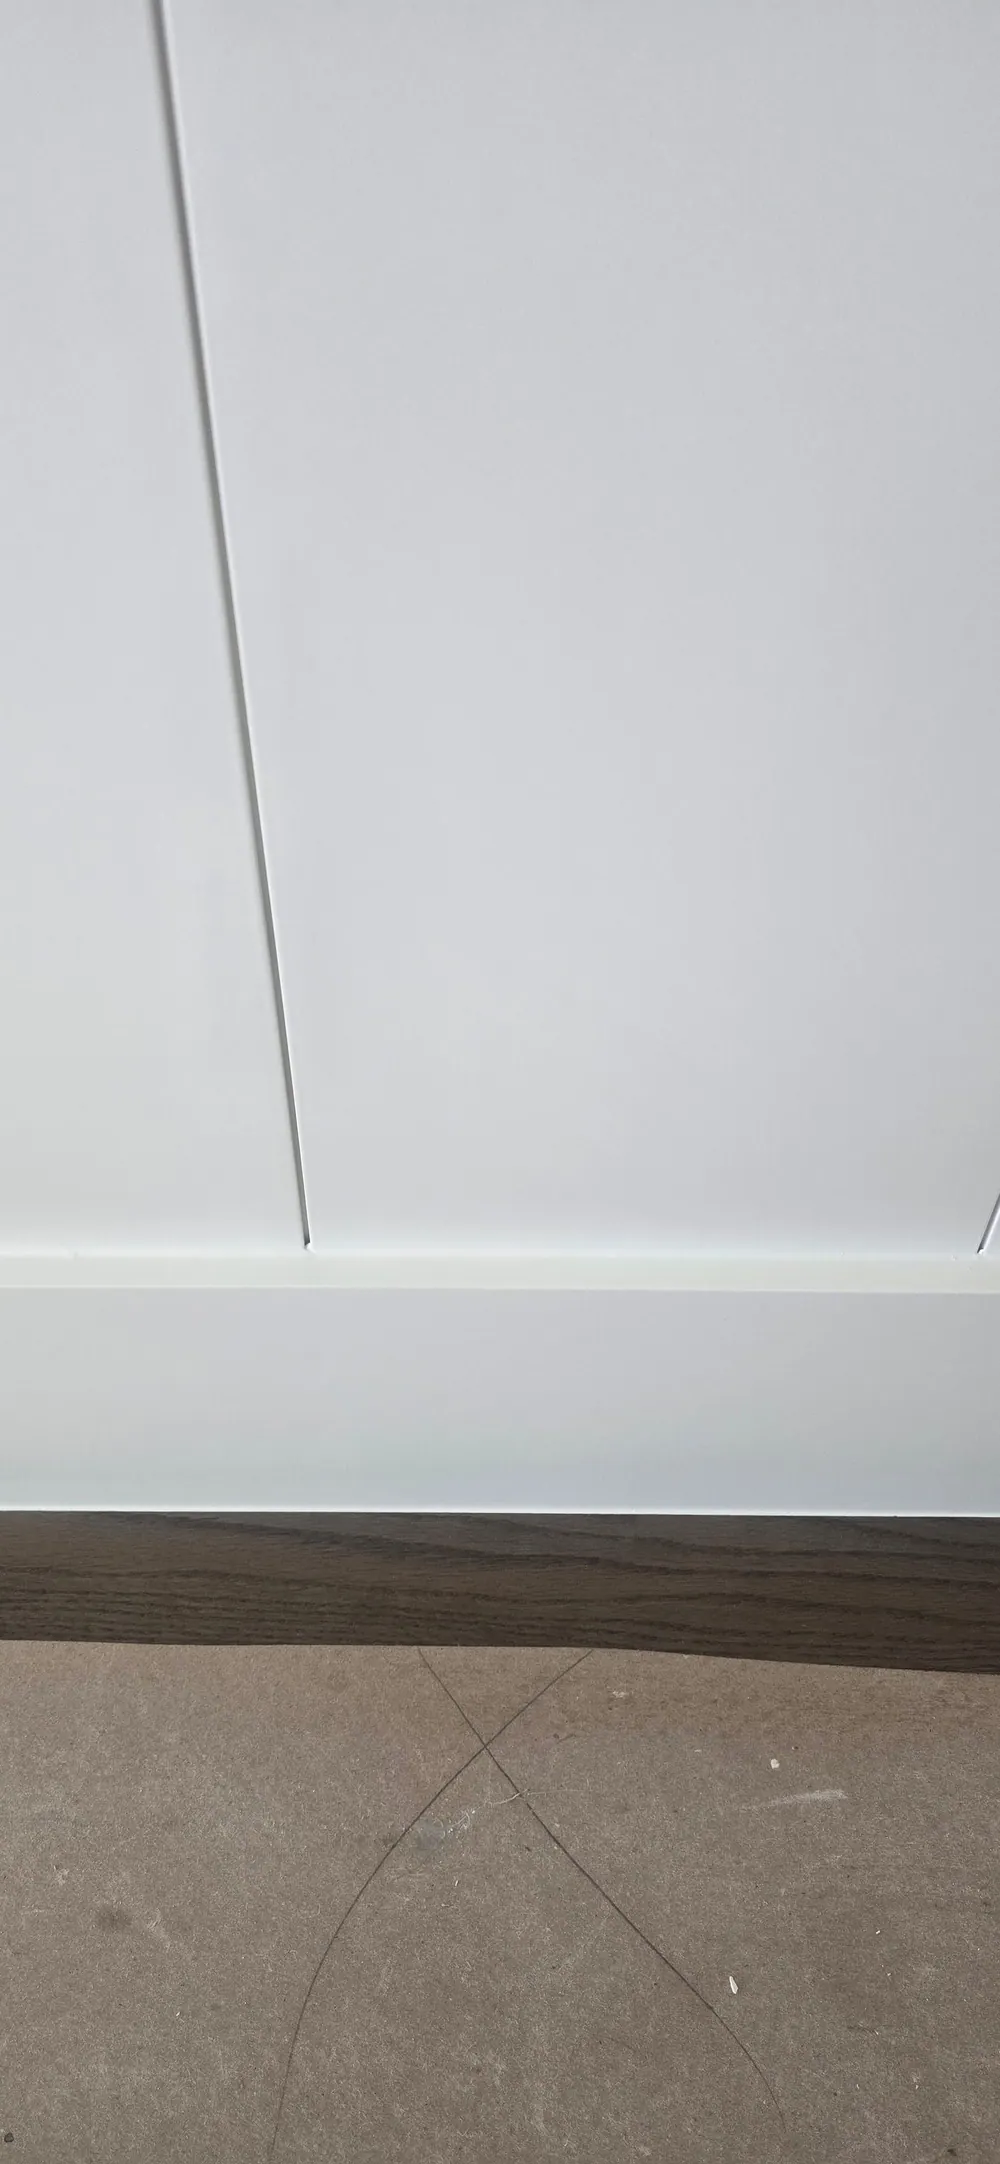
2. Get down to the baseboard line
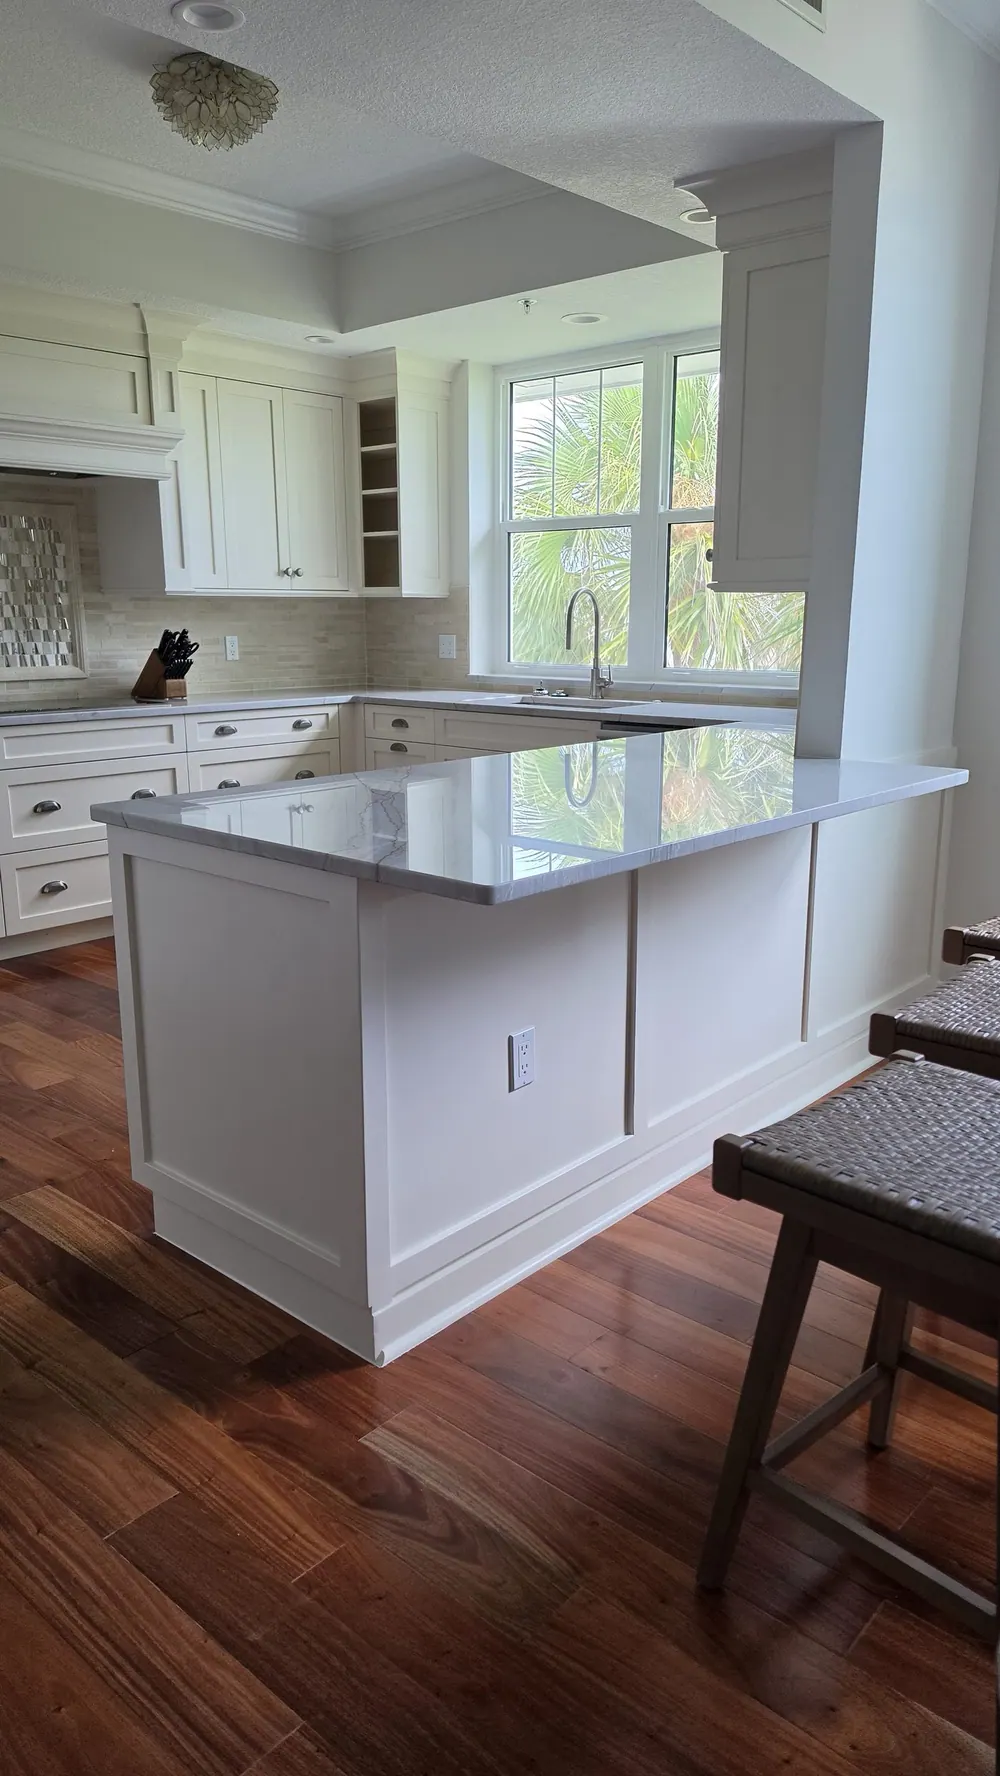
The junction where wall meets trim is the hardest 12 inches in the room, and it is the first place speed shows.
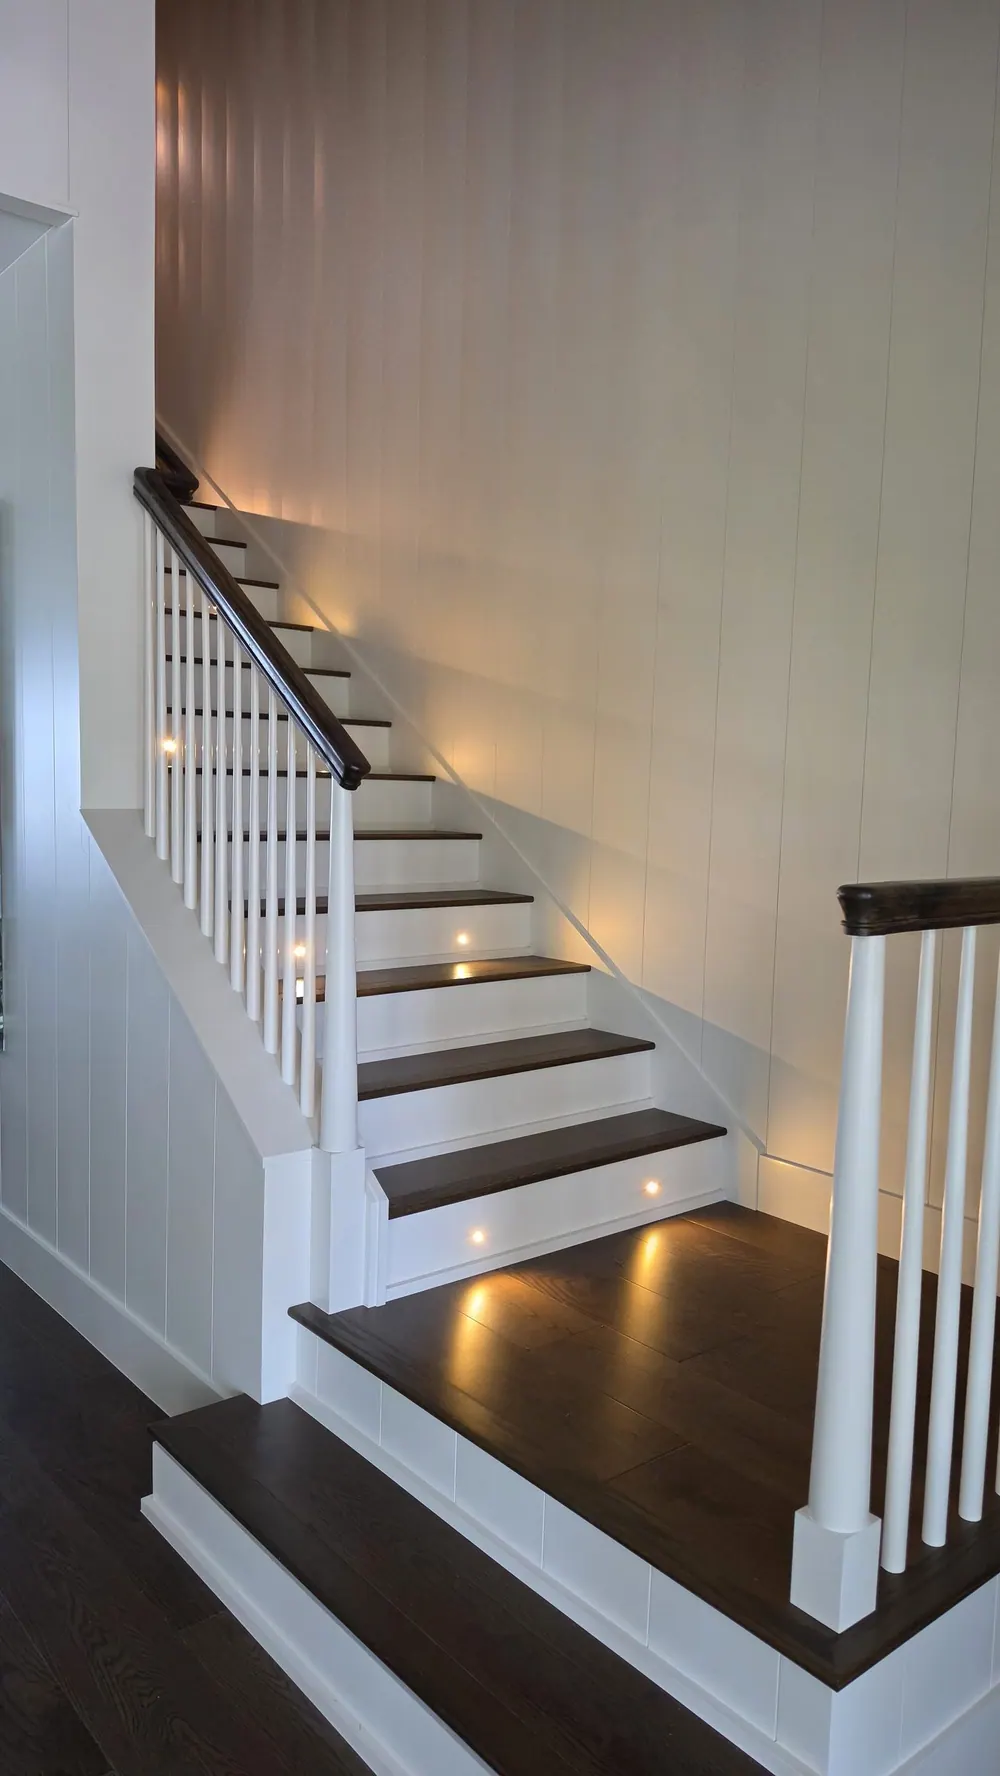
What you want is one line. Wall colour stops, trim colour starts, and the boundary is straight enough that your eye follows it around the room without catching.
What you do not want:
- A caulk bead that is lumpy, or that has paint cracked across it already
- Wall colour riding up onto the trim, or trim white bleeding down onto the wall
- A shadow gap where the caulk shrank back and nobody went round a second time
Caulk shrinks. Everyone’s caulk shrinks. The question is whether the crew came back after it shrank. That second pass takes half a day on a whole house and is the single most common thing cut when a job is priced to win rather than priced to last.
3. Run a fingernail along the trim
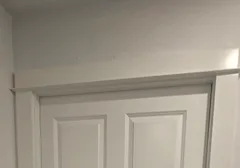
Close your eyes and run a fingernail slowly along a door casing.
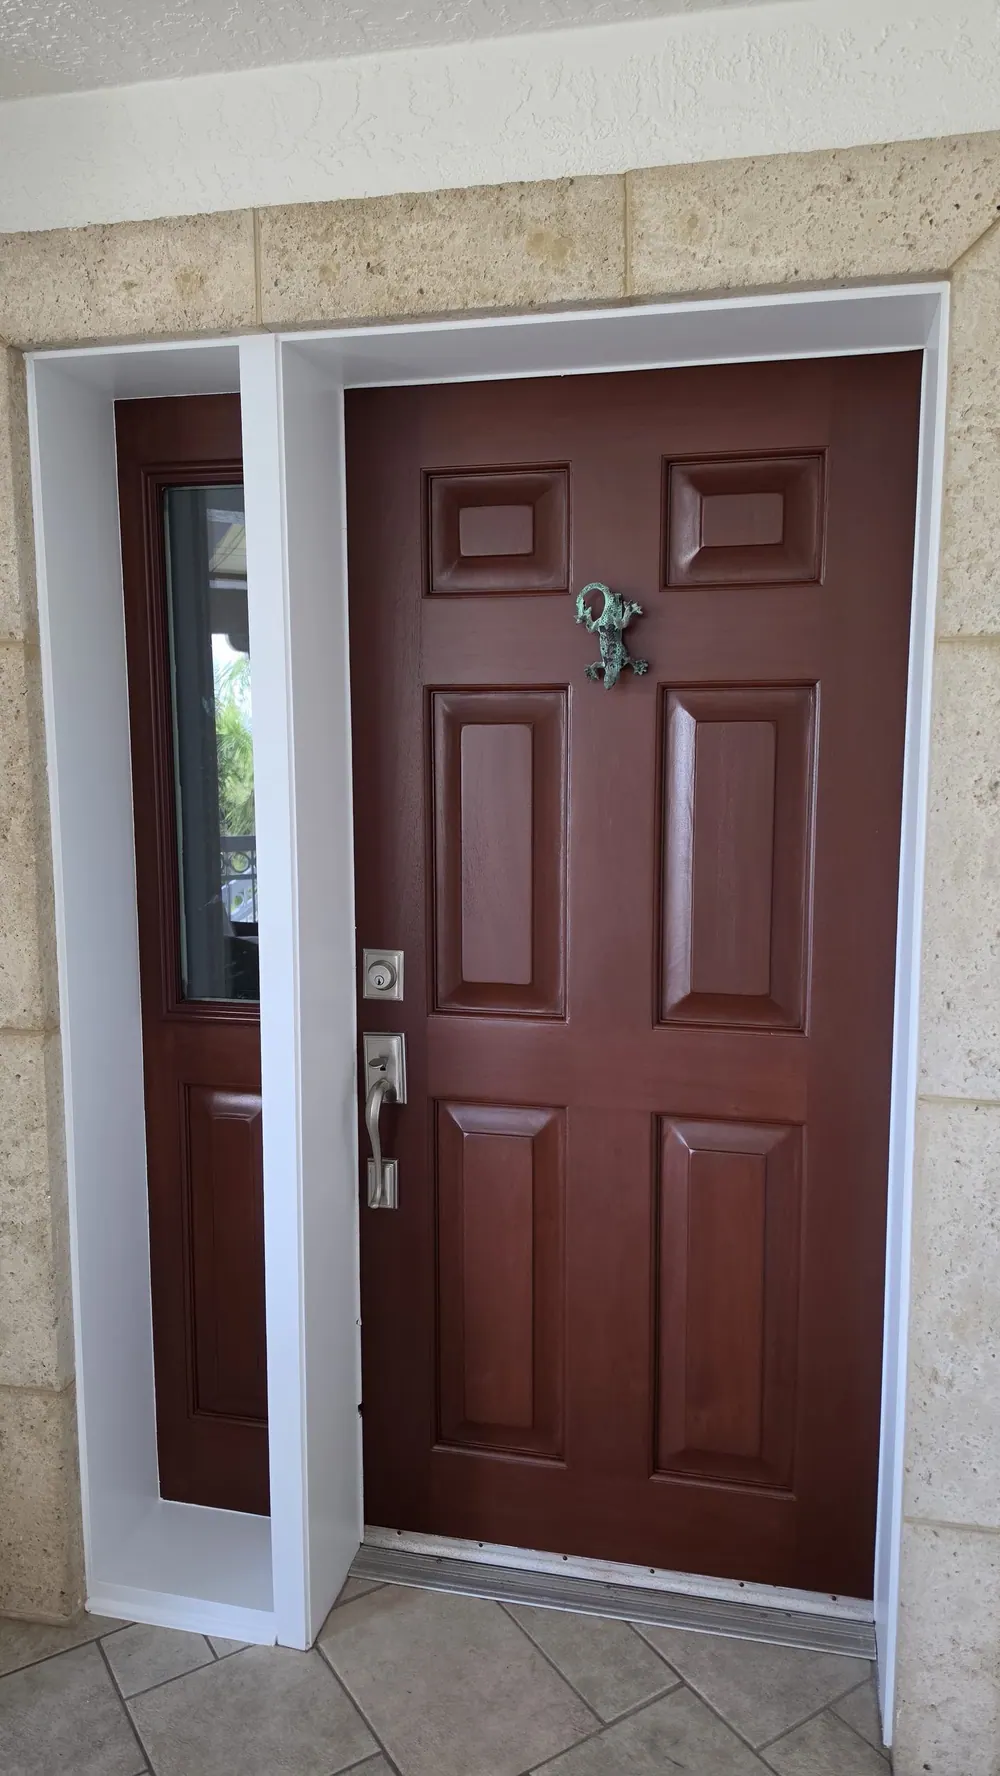
You are feeling for texture that should not be there: brush drag, a run that was sanded but not recoated, the fuzz of a surface that was never sanded between coats at all. Trim that was prepared properly feels like a manufactured object. Trim that was rushed feels like wood with paint on it.
Sanding between coats is invisible in a photograph and unmistakable under a fingertip. It is also pure labour with no material cost, which is exactly why it is the first thing to go.
4. Open something
Open a cabinet door. Open the coat closet. Look at the inside edge of a door and the back of a cabinet stile.
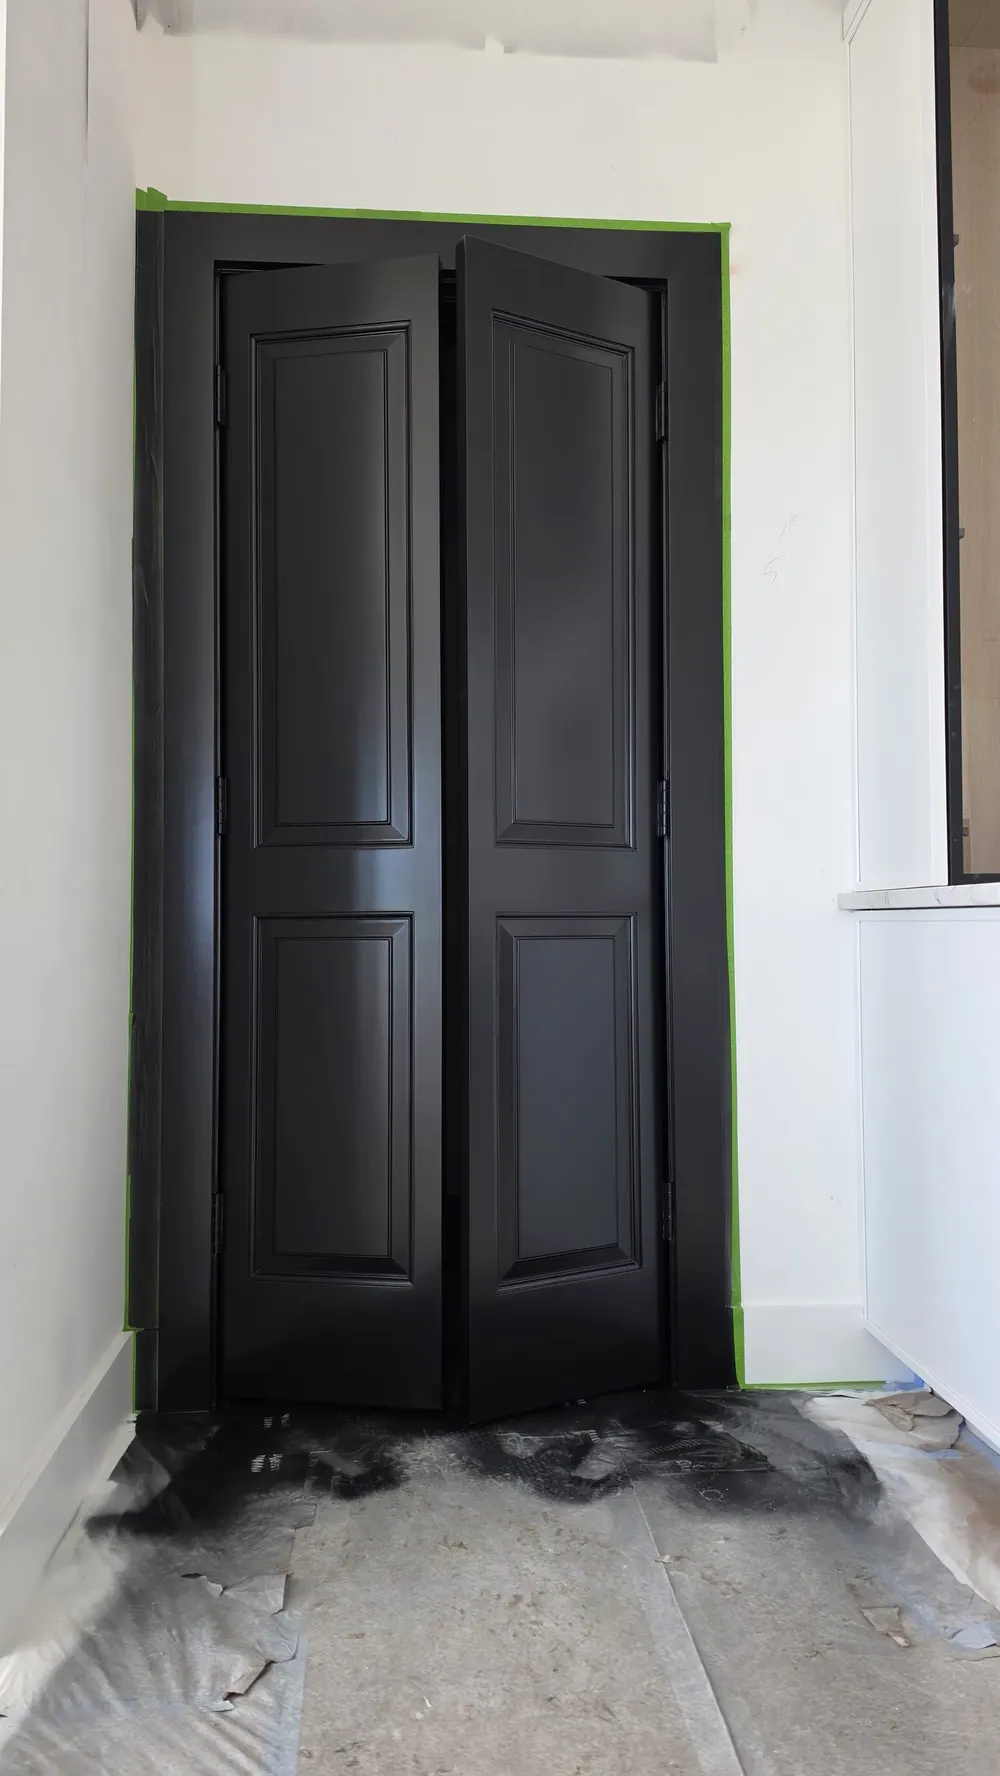
A crew that sprayed doors properly took them off, coated all six faces, and rehung them. A crew in a hurry coated the faces you see and left the top edge of every door raw. Stand on a step stool and look at the top edge of one interior door — it takes four seconds and it is the most reliable single tell in this entire article.
The top edge of a door is also where moisture gets into the timber in a humid house. This is not only cosmetic.
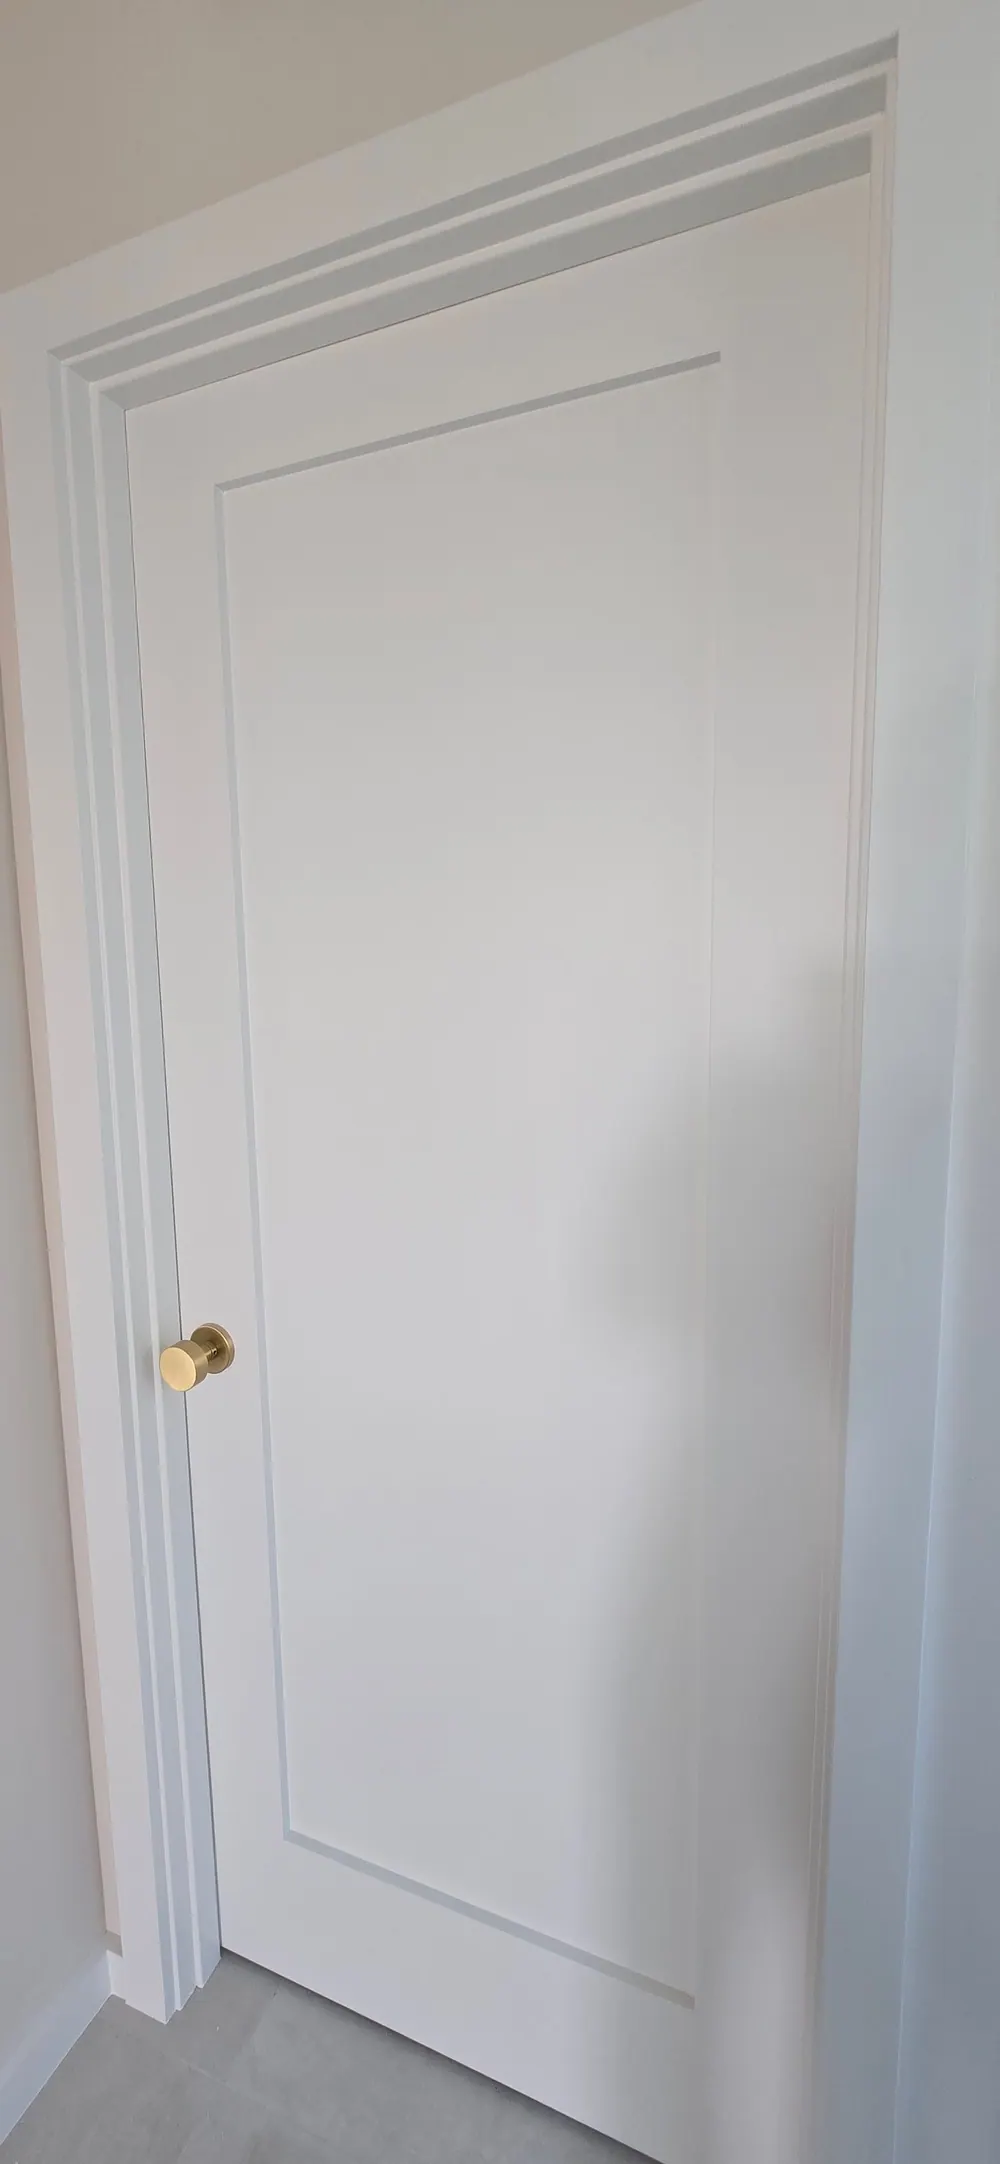
5. Check the hardware and the glass for haze
Walk to the nearest window in a room where trim was sprayed. Look at the glass at a low angle. Then look at the hinges.
Overspray reads as a fine gritty haze. On glass it can usually be blade-scraped off; on brushed-nickel hinges and satin door hardware it often cannot, because the finish has texture for it to key into.
Overspray tells you two things. The obvious one is that masking was rushed. The more useful one is about pace — a crew moving fast enough to mist a hinge was moving that fast when they laid the coating too, and coating applied too fast is coating applied thin.
6. Look at the inside corners
Inside corners are where paint pools. Look into the corner of a room where two walls meet, and into the corner where a wall meets the ceiling.
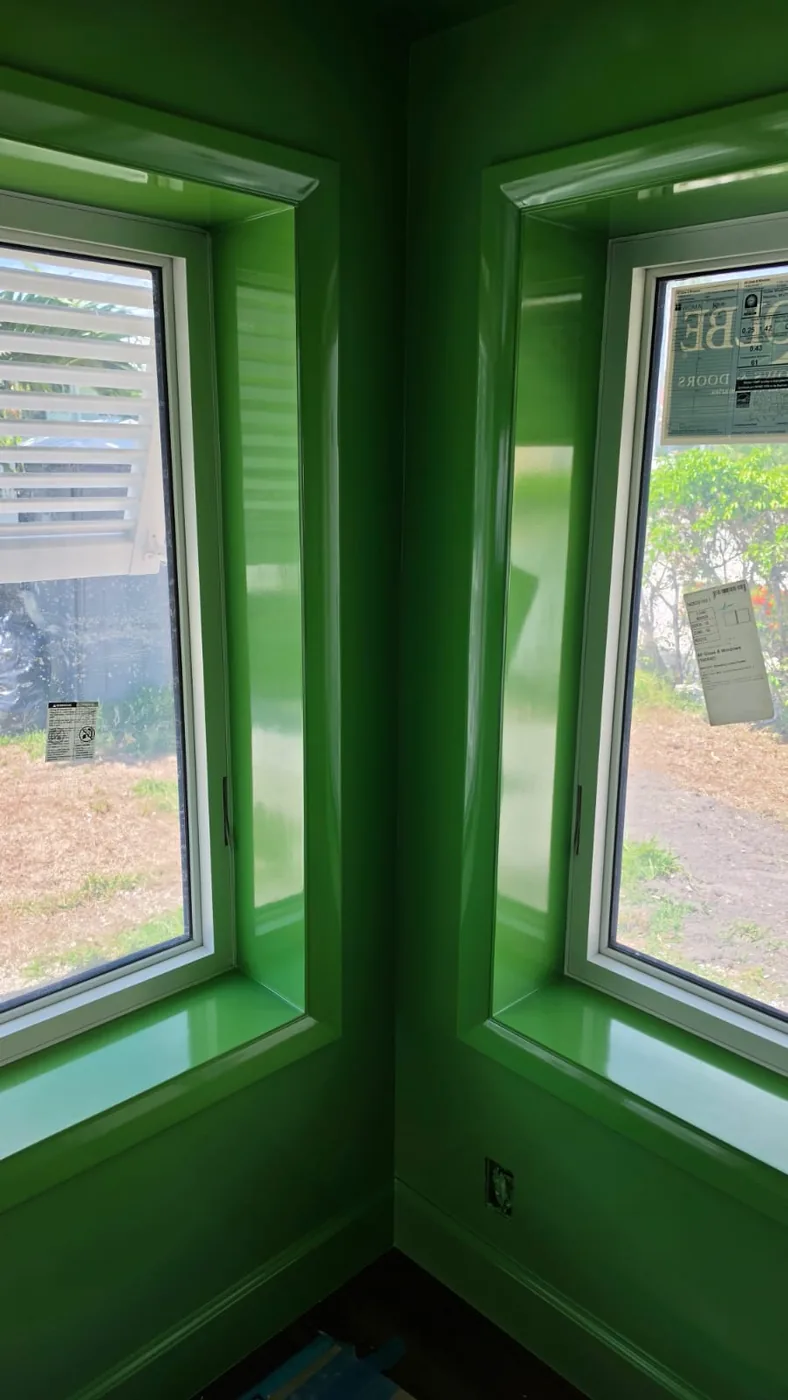
You want the same sheen all the way into the corner. What you often get is a darker, glossier band an inch wide where the brush loaded the corner and nobody rolled back into it. In a flat paint this reads as a shiny stripe running the height of the room, and once you have seen it you will see it in every room of a rushed house.
7. Ask what happens in six months — and get the answer in writing
Workmanship shows up in a week. Adhesion shows up after a Florida summer.
The failure mode on the Gulf Coast is almost never the paint. It is what the paint was asked to stick to: chalked stucco that was not washed and primed, timber that went into the mid-nineties with moisture still in it, a cabinet door that was scuffed instead of degreased and now lifts at the corner where a thumb rests.
None of that is visible at the walkthrough. All of it is visible in April.
A finish is not a coating. It is a coating plus everything that happened to the surface before it, and only one of those two is visible when you sign.
What this looks like from our side
We work mostly in Nokomis, Venice, Osprey and out on Longboat Key and Siesta Key — houses where the trim package alone costs more than a whole repaint elsewhere, and where the client is frequently not in the state while the work happens.
That last part changes everything about how you have to work. When someone is going to walk into a finished house having seen none of the process, there is no opportunity to explain away a ridge or a hazed hinge. The work has to survive an inspection you are not present for.
So the checks above are not a gotcha list. They are close to our own internal one, which is why we are comfortable publishing it. If a crew is doing this properly, a homeowner running all seven checks finds nothing — and that absence is the entire product.
The traces are what you are actually paying to not have.
From the same trades
Questions we get asked
How can I tell if a paint job was done properly?
Check it in raking light — stand so a window or lamp throws light across the surface rather than straight at it. Roller stipple on trim, filler shadows, ridges where two days' work met, and overspray on hinges all disappear under flat light and jump out under raking light. Also run a fingernail along the caulk line at the trim, and open one cabinet door to see whether the inside edge was coated.
What does overspray look like, and does it matter?
It shows as a fine gritty haze on surfaces near the sprayed work — window glass, hinges, floor edges, outlet covers. It matters because it is permanent on some surfaces and because it tells you masking was rushed. Where overspray landed, the coating underneath was likely applied at the same pace.
Should trim be sprayed or brushed?
Sprayed, where the room allows it to be masked properly. Spraying is the only way to get a finish with no brush texture, which is what makes trim read as furniture rather than as painted wood. Brushing is the right call for touch-ups, tight occupied spaces, and anywhere masking would cost more than the finish gains.
How long should I wait before judging a new paint job?
Inspect within a few days for workmanship — lines, texture, overspray, coverage. Judge durability at the six-month mark, after a Florida summer has put humidity and temperature swings through it. Adhesion failures from bad prep usually show by then, and most reputable warranties are still open.
Is it normal to see brush marks in a finished paint job?
On walls, no — a rolled wall should carry a uniform stipple with no lap marks. On trim and doors, visible brush texture means it was brushed rather than sprayed, which is a legitimate choice in some rooms but should have been a decision you were told about, not a discovery you make afterward.